Blog
Laying carpet might seem straightforward, but if you use the wrong adhesive or cut corners during installation, problems like bubbling, edge curling, or shifting can show up before you know it.
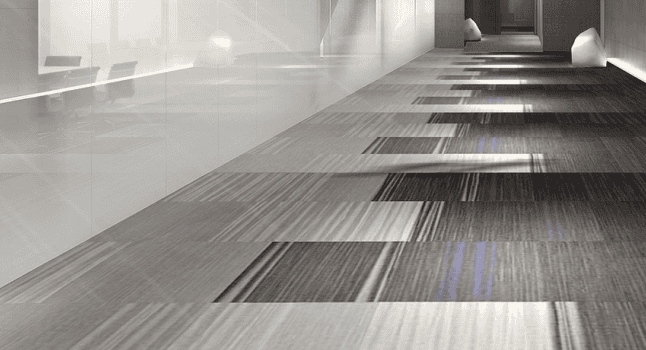
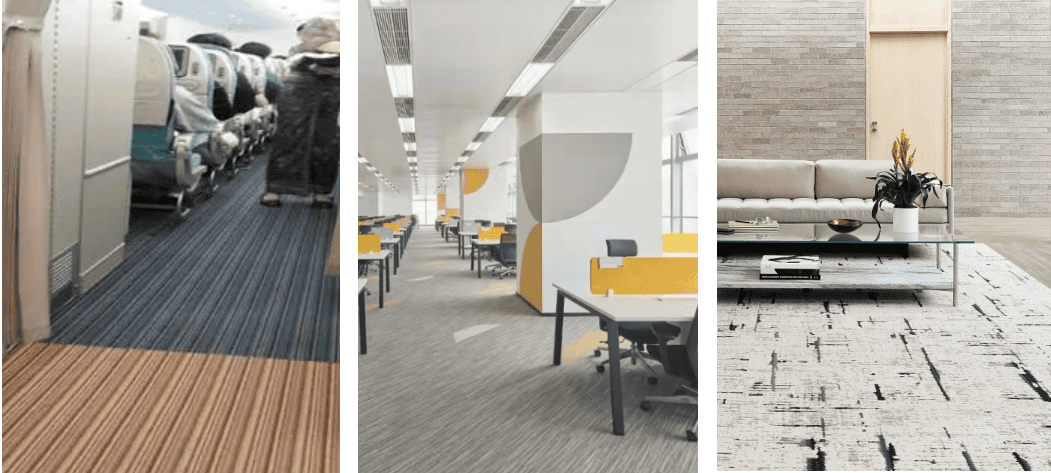
Today, let’s talk about M730 Carpet Adhesive. A type works in all kinds of settings, from homes and hotels to gyms, exhibition halls, and even vehicles, ships, and aircraft. It’s suitable for installing full-roll carpet, carpet tiles, modular tiles, and rugs with backings such as modified bitumen, PVC, or soft PU.
Here’s how to get it right, helping you create a smooth, beautiful, and durable carpeted floor.
Step 1: Surface Preparation Get the Floor Ready
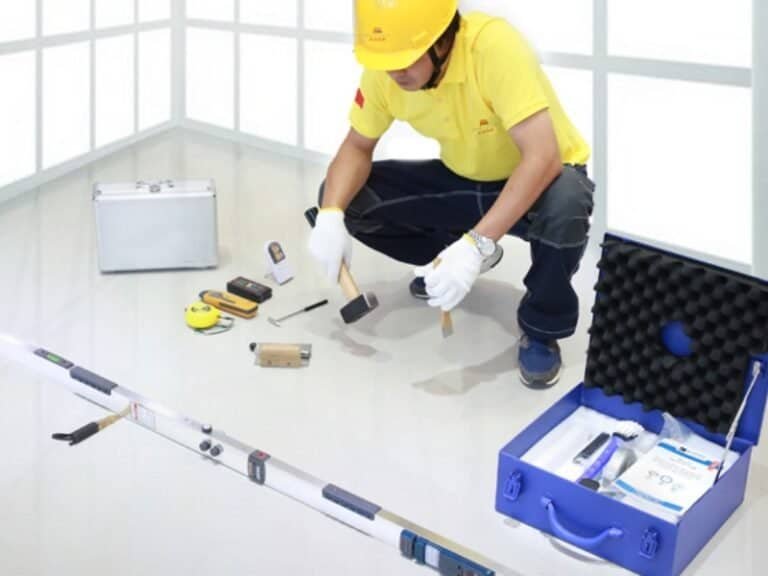
Before carpet is laid, the floors must be smooth and clean, have suitable compressive strength, be free of debris and insulating substances, and have a moisture content of less than 8%.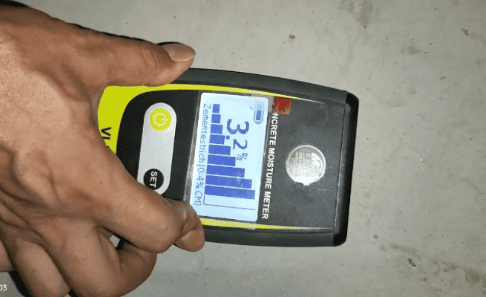
Step 2: Choosing the Right Application Method
Stir the adhesive well before use. Depending on your project, you can apply it in three ways:
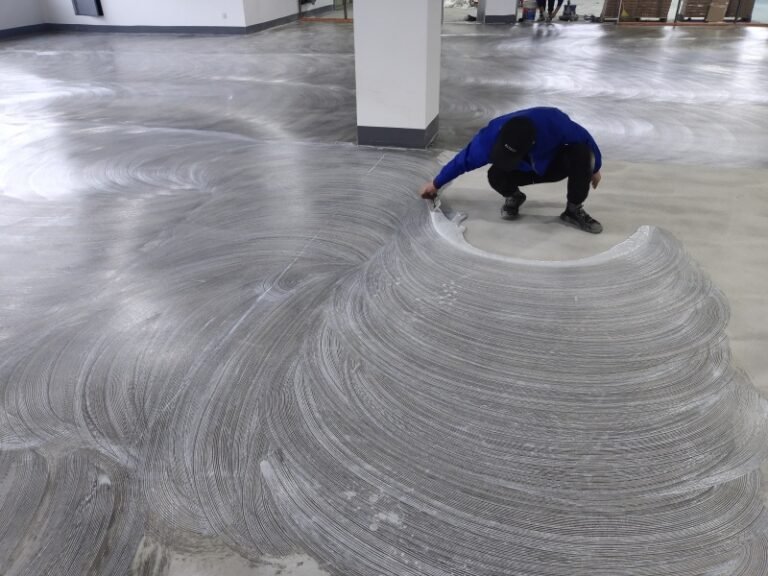
1.For Large Areas, Recommend Roller Application
Use a short-nap roller to spread the adhesive evenly across the floor. Quick and efficient, ideal for hotels, homes, or any large-scale installation.

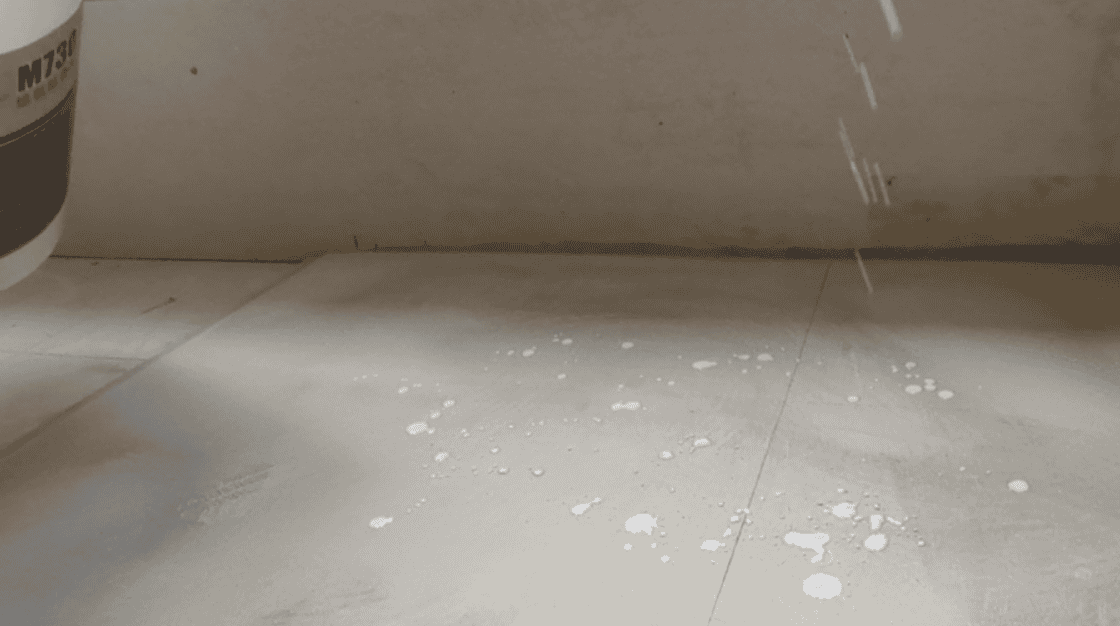
2.When You Need Anti-Slip, Recommend Spot Application
Use a paintbrush to apply adhesive in scattered spots. Great for temporary setups like exhibitions or events, or simply to keep rugs from sliding. It uses less adhesive and makes future removal easier.
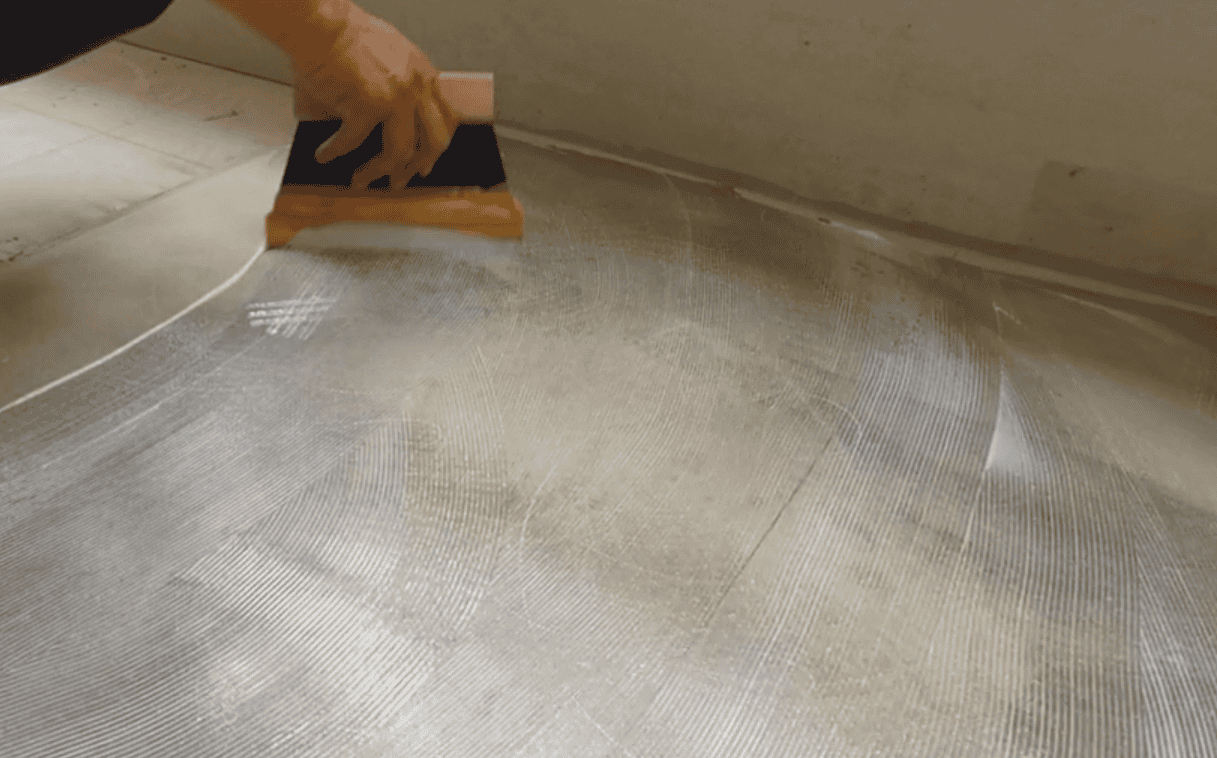
3.Full-Spread Application, Maximum Bonding
Use an A3 notched trowel to spread the adhesive evenly, creating uniform ridges. This gives the strongest hold, perfect for high-traffic areas like gyms, corridors, or aircraft cabins.
4.Open time
After applying the adhesive. Let the adhesive sit for 5–15 minutes after application. It’s ready when it turns semi-transparent and feels tacky but doesn’t stick to your finger.
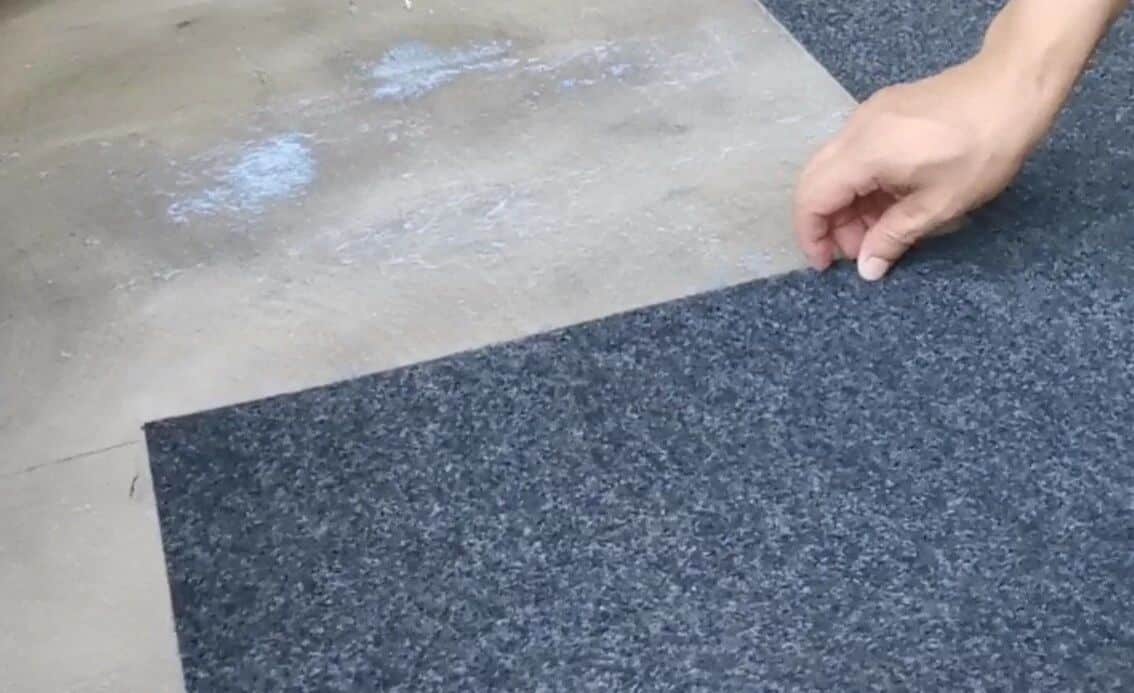
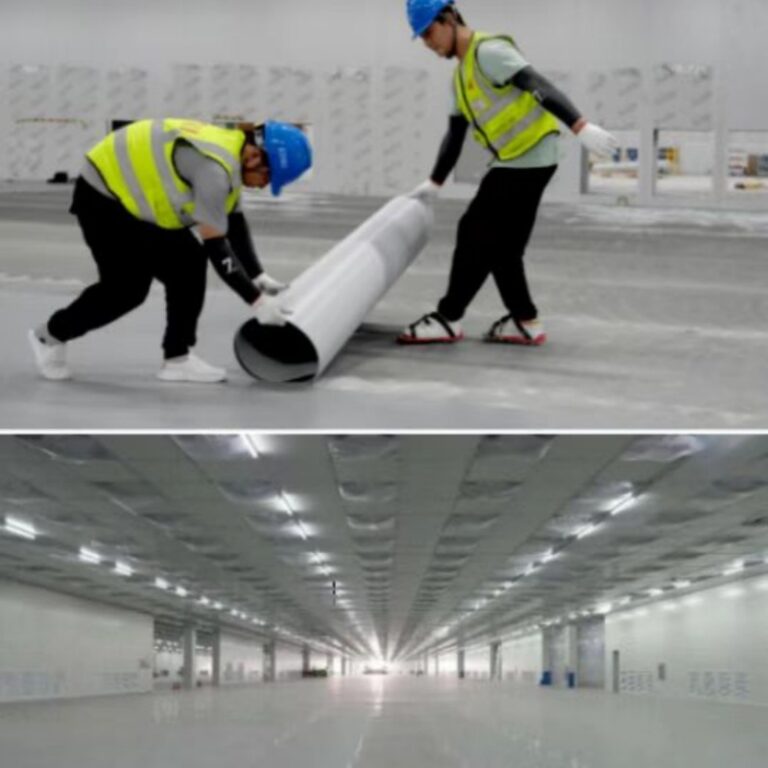
Step 3: Lay the Carpet Properly
For carpet tiles, especially patterned ones:
Plan ahead: Measure and mark guidelines. Do a dry layout for patterned carpets to ensure alignment.
Start from the center: Work outward for even coverage. For patterns, begin from a fixed point.
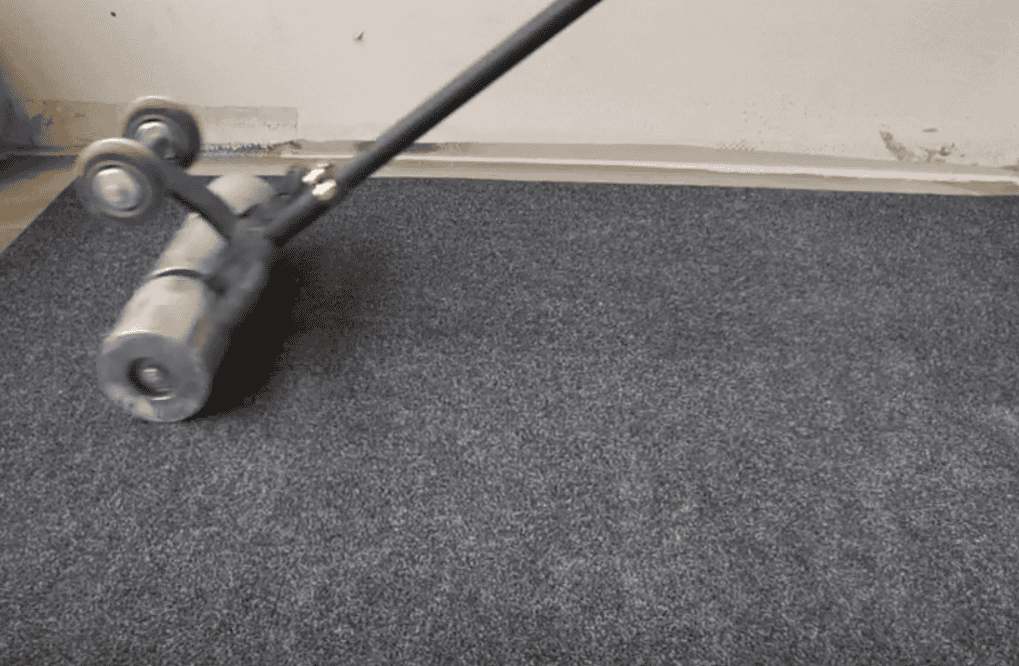
Press firmly: Use a carpet stretcher to smooth out wrinkles, then roll with a carpet roller for full contact.
Check Your Work
After installation, inspect:
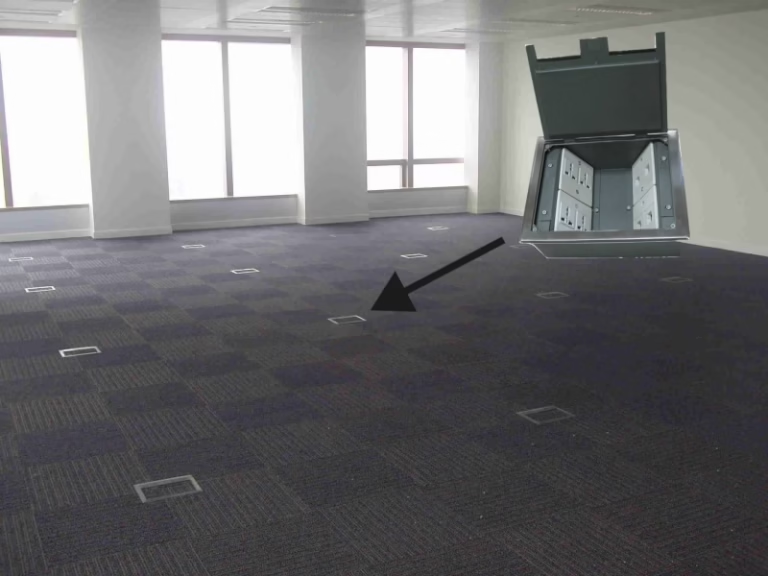
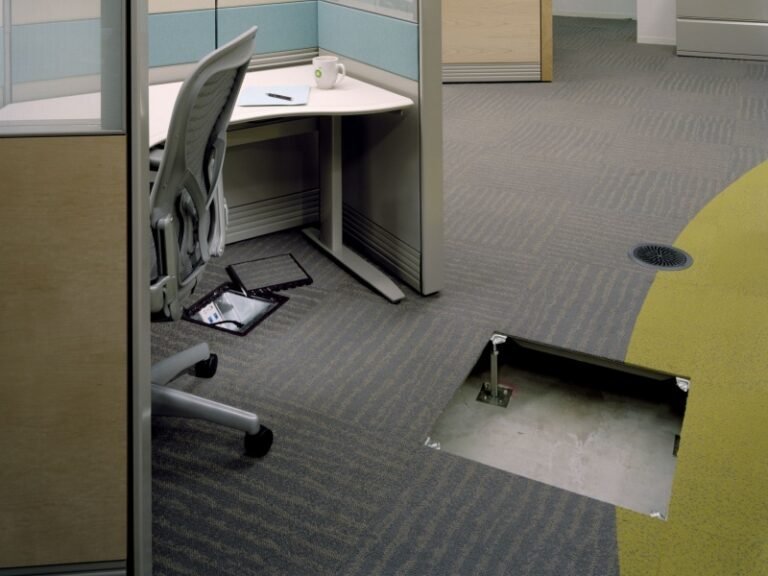
Smooth surface – No bubbles, wrinkles, or loose edges.
Tight seams – Joints should be secure and barely visible.
Consistent appearance – No shading differences or mismatched patterns.
Clean edges – Doorways and baseboards should be neat with no gaps.